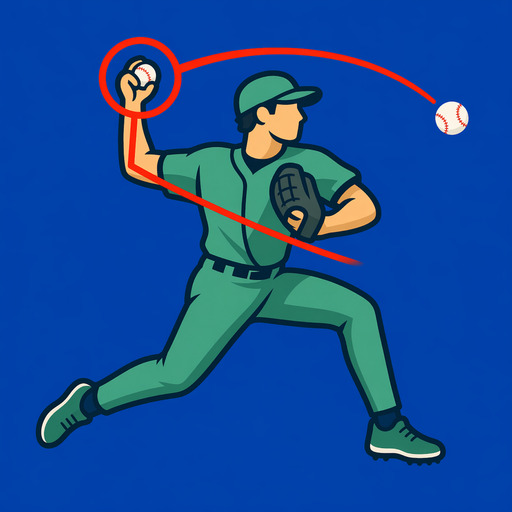
How to draw useful checkpoints on baseball video.
An annotation earns its place when it makes a question or change easier to see. The goal is not to decorate the frame; it is to make one visible relationship explicit.
Pause on the exact phase
A line attached to the wrong moment can create a confident but misleading conclusion. Step frame by frame and verify the visible event before drawing.
Use a line for direction or posture
Common examples include stride direction, spine or torso posture, shoulder tilt, head boundaries, or a reference through the hips. State what the line represents.
Use circles and arrows sparingly
A circle can isolate a foot, hand, head, or release area. An arrow can call out movement direction. One or two marks are usually enough.
Use angles for repeatable positions
Angle tools can help compare visible joint or body-segment positions, but the result depends on camera geometry and point placement. Treat the number as a frame-specific reference.
Move or delete weak annotations
If the first mark is ambiguous, adjust it. Keeping only the strongest annotation makes exported feedback easier to understand.
Export with a written cue
Pair the image with a short note such as “compare head position at heel plant” so another viewer knows what the mark is meant to show.