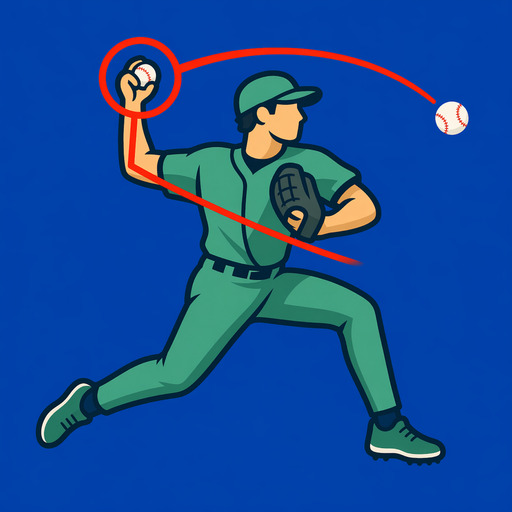
How to review pitching mechanics video on iPhone.
Pitching video is most useful when it helps a pitcher and coach discuss a visible moment. It should not be stretched into claims about velocity, spin, movement, or injury risk that ordinary phone video cannot establish.
Try this review in BaseballDraw
Import a clip from Photos or record in the app, then open pitching mode. Use the frame buttons to find foot strike and the release neighborhood. Choose Line or Circle to mark one visible reference, then Save Photo or Save Video to keep the result. Use comparison when you have a second clip from the same view.
BaseballDraw costs $7.99 once in the U.S., with every tool included. See the app workflow and screenshots or read the pricing details.
Start with a stable side or rear view
A side view helps inspect balance, stride timing, trunk position, and release sequence. A rear view can help with stride direction and arm-slot context. Keep the full body and release area visible.
Review the delivery by phase
Move through set, leg lift, hand break, foot strike, maximum external rotation, release, and follow-through. Exact labels are less important than consistently comparing the same visible moment.
Mark body position, not invisible forces
Lines can clarify posture, stride direction, shoulder tilt, and head position. Do not infer joint loading or injury risk from a single marked frame.
Inspect release in context
The release frame matters, but so do the frames before and after it. Compare release position with foot strike, trunk rotation, and follow-through rather than treating arm slot as an isolated shape.
Compare sessions under similar constraints
Mound height, footwear, effort, pitch intent, camera angle, and fatigue can all change what the clip looks like. Record those details in a note when they matter.
Send a narrow question to a coach
A short annotated clip with one question is easier to answer than a full bullpen video with no context.